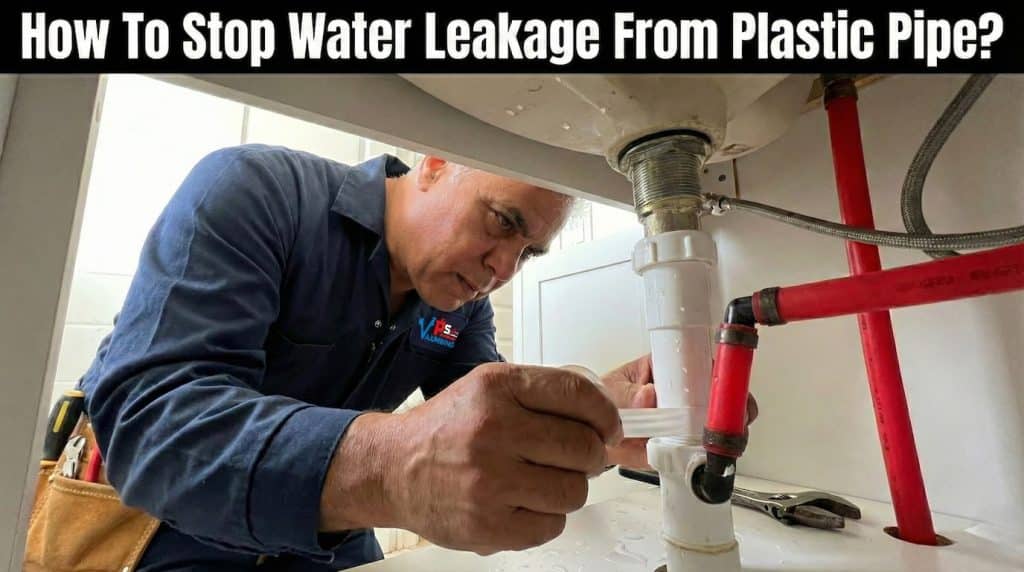
How to Stop Water Leakage From a Plastic Pipe: A Plumber’s Step-by-Step Guide
Written by the VPS Vancouver Plumbing Services field team · Reviewed by a licensed BC plumber
Updated for 2026 · Based on repairs we perform daily across North Vancouver, Vancouver & West Vancouver · 4 min read
A dripping plastic pipe is a ticking clock. Left alone, a slow leak feeds mould and rots framing long before you see a water stain. The good news: most plastic-pipe leaks can be stopped quickly, and several fixes need only hardware-store parts. In the plumbing jobs we run across Greater Vancouver, the leaks we see most often are cracked PVC drain lines, split fittings, and pinholes at joints — and the steps below are exactly what our technicians do on-site.
You have two honest paths. If the leak is severe, hidden in a wall, or you’d rather not risk it, call a licensed plumber (Greater Vancouver Area). If it’s small and accessible, you can stop it yourself with the steps below — whether your system is PVC, CPVC, or flexible PEX.
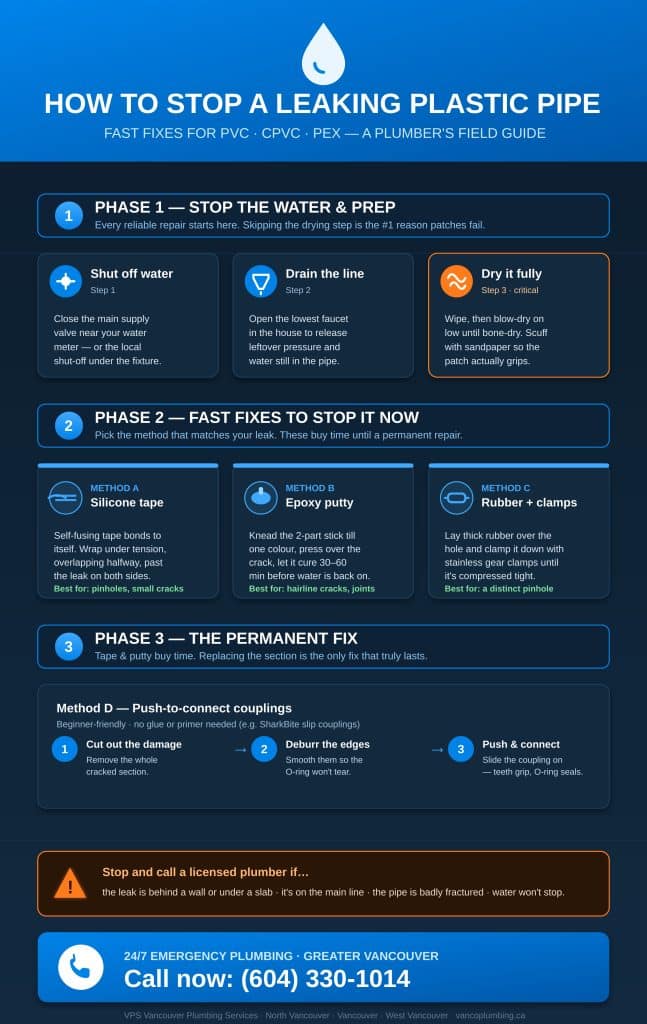
Here’s the whole repair process at a glance — save it or follow along step by step:
First: is this a job you should DIY?
Use this quick check before you touch anything:
- Stop and call a pro if: the leak is behind a finished wall or under a slab, it’s on the main supply line, the pipe is badly fractured, or water won’t stop after you close the main valve.
- You can likely DIY if: the pipe is exposed (under a sink, in a basement or crawlspace), the leak is a small crack, pinhole, or weeping joint, and you can reach it comfortably.
Vancouver readers: If the leak is an emergency and you’re in the Greater Vancouver area, VPS offers 24/7 emergency pipe leak repair — a licensed plumber can be dispatched at any hour. Call (604) 330-1014.
Phase 1: Stop the water and prep the pipe
Every reliable repair starts here. Skipping the drying step is the number-one reason DIY patches fail.
- Shut off the water. Close your home’s main supply valve, usually near the water meter or where the main line enters the house. For a single fixture, the local shut-off under it may be enough.
- Drain the line. Open the lowest faucet in the house (a basement sink or outdoor hose bib) to release residual pressure and water still sitting in the pipe.
- Dry the pipe completely. This is the step most people rush. Tape, putty, and epoxy will not bond to a wet surface. Wipe the pipe down, then use a hairdryer on low until the cracked area is bone-dry. Lightly scuff the area with sandpaper so patches grip better.
Phase 2: Fast fixes to stop the leak now
These get water flowing again while you wait for a plumber or prepare a permanent repair.
Pick the method that matches your leak.
Method A: Self-fusing silicone tape (best for pinholes & small cracks)
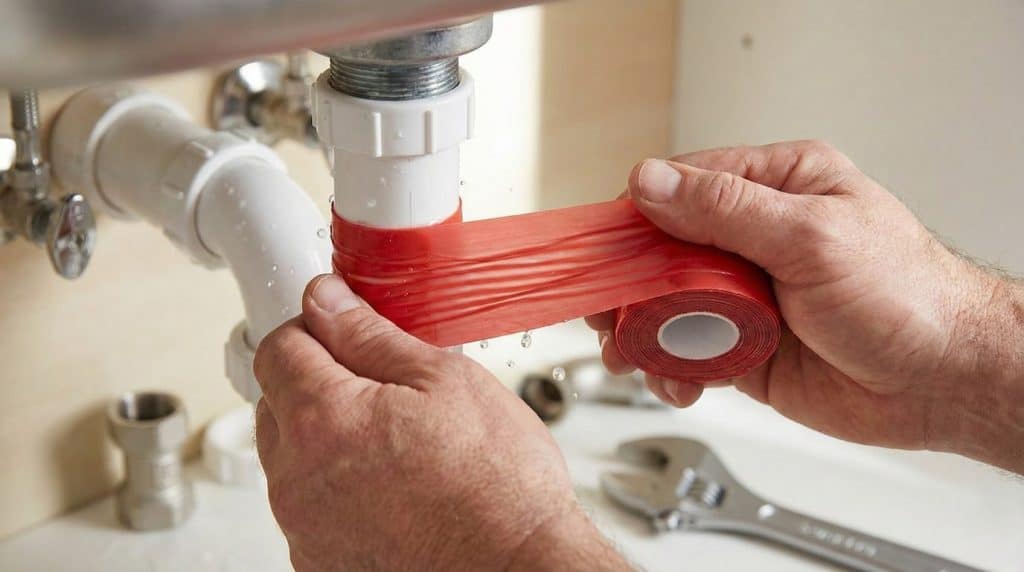
Silicone repair tape bonds to itself, not the pipe, forming a seamless rubber sleeve.
Anchor it just to one side of the leak, then wrap under firm tension stretching activates the fusing overlapping each pass by half its width. Extend well past the leak on both sides. It’s the go-to when you need to stop a pinhole or small crack in a PVC pipe fast. Treat it as temporary on pressurised lines.
Method B: Plumber’s epoxy putty (best for hairline cracks & awkward joints)
For a hairline crack or a weeping fitting, two-part epoxy putty gives a hardened, semi-permanent seal. Cut off a piece and knead until the colour is uniform that starts the cure. Press it firmly over the dried crack, shaping it around the pipe’s contour. Let it cure fully (usually 30–60 minutes; longer in a cold basement) before restoring water.
Method C: Rubber patch + hose clamps (best for a distinct pinhole)
An old-school patch that genuinely works. Cut a piece of thick rubber (an old bike inner tube is perfect) a few inches longer than the leak, lay it over the hole, and clamp it down with one or two stainless-steel gear clamps. Tighten until the rubber is compressed hard against the pipe.
Phase 3: The permanent fix
Method D: Push-to-connect couplings (no glue, beginner-friendly)
Tape and putty buy time; replacing the damaged section is the only definitive fix. Modern push-fit slip couplings (such as SharkBite) make this simple:
- Cut out the damage. Use a PVC cutter or fine-tooth hacksaw to cut squarely through the pipe and remove the whole cracked section.
- Deburr the edges. Smooth the cut ends with a deburring tool or sandpaper. Sharp edges slice the fitting’s O-ring and cause a fresh leak.
- Install the coupling. Mark the insertion depth, push the slip coupling onto one end, then slide it across to join the other. Stainless teeth grip the pipe and an O-ring seals it no primer or PVC cement needed.
On glued PVC joints: If your leak is at a solvent-welded PVC joint, a wrap or putty patch is only a stopgap. A properly leaking glued joint usually means the fitting must be cut out and re-made. That’s the honest long-term answer not more tape.
The bottom line
When a plastic pipe leaks, act fast: shut the water, dry the pipe, and choose the patch that fits your leak. Silicone tape and epoxy putty are excellent for stopping the flow and getting your home running again, but replacing the compromised section is the only way to be truly done with it. If the leak is hidden, on a main line, or beyond a simple patch, turn off the water and call a licensed professional.
Leaking pipe in Greater Vancouver and don’t want to risk it? VPS provides 24/7 emergency pipe leak repair across North Vancouver, Vancouver & West Vancouver. Call (604) 330-1014 for a fast, upfront quote.